
How to set up a home coffee bar: a practical guide
TL;DR:
- Many UK households are creating dedicated coffee spaces for better quality and control. Proper setup involves choosing a well-lit, accessible location with sufficient counter space, power, and water access. Investing in quality equipment and maintaining it regularly enhances the home coffee experience.
There is a real difference between grabbing a rushed instant coffee before work and stepping up to your own personal coffee bar, pulling a well-timed shot, and starting the morning on your terms. More UK homes are carving out dedicated coffee spaces, and for good reason: better quality, more control, and a daily ritual that actually feels worthwhile. This guide walks through every stage, from finding the right spot in your kitchen to choosing equipment, organising your setup, and keeping it running well. Whether you are new to home brewing or ready to take things further, these practical steps will help you build something genuinely useful.
Table of Contents
- Finding the ideal spot and preparing your workspace
- Choosing your coffee equipment and essentials
- Step-by-step: setting up and organising your coffee bar
- Maintenance, safety and coffee bar troubleshooting
- Why your coffee bar is more than just a brewing station
- Take your home coffee bar to the next level
- Frequently asked questions
Key Takeaways
| Point | Details |
|---|---|
| Location matters | Choose a well-lit, accessible spot with enough counter space and nearby outlets. |
| Prioritise your grinder | A burr grinder will upgrade your coffee more than a high-end machine. |
| Organise for efficiency | Arrange tools and storage to streamline your morning routine and save time. |
| Maintain for taste | Regular cleaning and upkeep are essential for the best coffee and a safe setup. |
| Match gear to needs | Select equipment and beans based on your personal taste, lifestyle, and available space. |
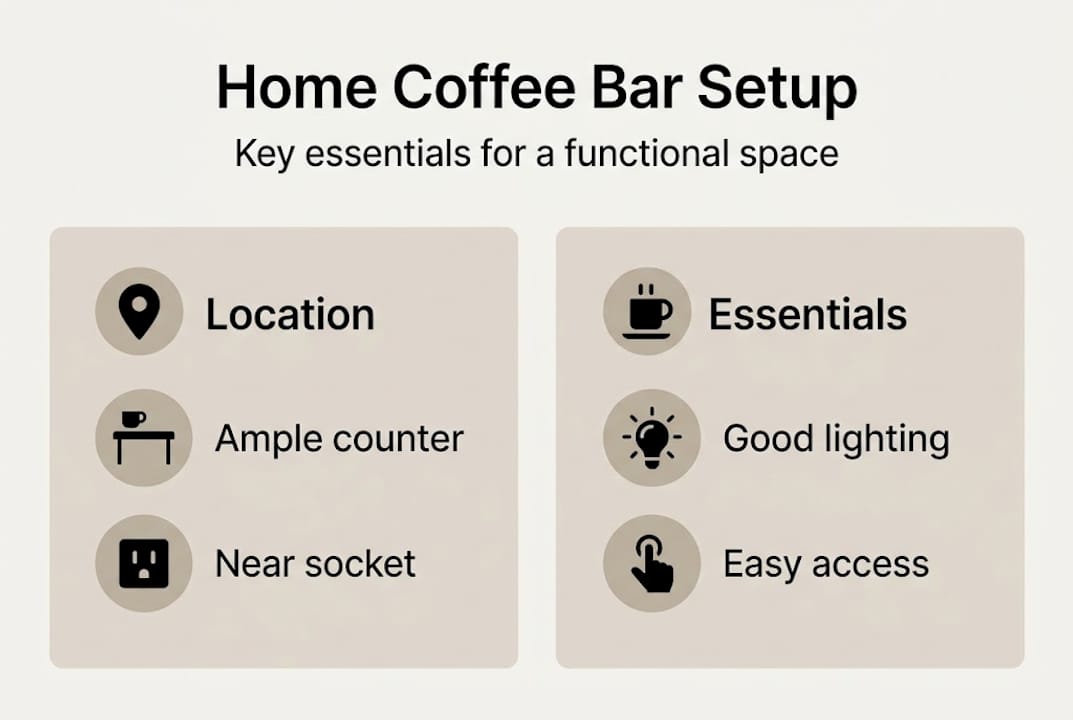
Finding the ideal spot and preparing your workspace
The location you choose shapes everything that follows. A poorly placed coffee bar means awkward mornings, trailing cables, and unnecessary mess. A well-chosen spot makes the whole routine feel effortless.
The best position is close to the kitchen, with natural or overhead lighting, at least one nearby power socket, and easy access to a water source. According to practical setup advice for home bars, a clear workflow area of at least 12 to 18 inches of counter space is recommended for comfortable use. That might sound modest, but it fills up quickly once a machine, grinder, and tamper are in place.
Before committing to a spot, run through this checklist:
| Requirement | Minimum standard | Notes |
|---|---|---|
| Counter space | 12 to 18 inches clear | More is always better |
| Power sockets | At least 2 nearby | Machine and grinder draw separately |
| Lighting | Natural or warm overhead | Helps you see grind colour and pour |
| Water access | Sink within reach | Simplifies filling and cleaning |
| Surface material | Wipe-clean or tiled | Bar mats recommended for spills |
For smaller kitchens, a freestanding trolley on wheels is a practical solution. It keeps everything together, rolls out of the way when not in use, and can be tucked beside a worktop or under a shelf. Vertical storage, such as wall-mounted racks or shelving above the station, is equally useful for cups, pods, or sealed bean jars.
- Use a compact trolley if counter space is limited
- Mount shelves above to store cups and accessories
- Keep frequently used items at arm’s reach
- Store beans away from direct sunlight and heat
Reviewing a home barista checklist before setting up can also help avoid common oversights.
Pro Tip: Place a rubber bar mat directly under your machine and grinder. It catches drips and grounds, protects the surface, and wipes clean in seconds.
Choosing your coffee equipment and essentials
With your space sorted, the fun begins: picking the equipment that will shape every cup. The market is wide, and the choices can feel overwhelming. Breaking it down by machine type first makes the decision much clearer.
| Machine type | Best for | Skill level | Approximate cost |
|---|---|---|---|
| Manual espresso | Flavour-focused enthusiasts | High | £150 to £600+ |
| Bean-to-cup | Convenience seekers | Low | £200 to £1,000+ |
| Pod machine | Quick, minimal effort | Very low | £60 to £250 |
| Filter or pour-over | Lighter, nuanced brews | Medium | £30 to £200 |
Beyond the machine, the equipment you cannot skip includes:
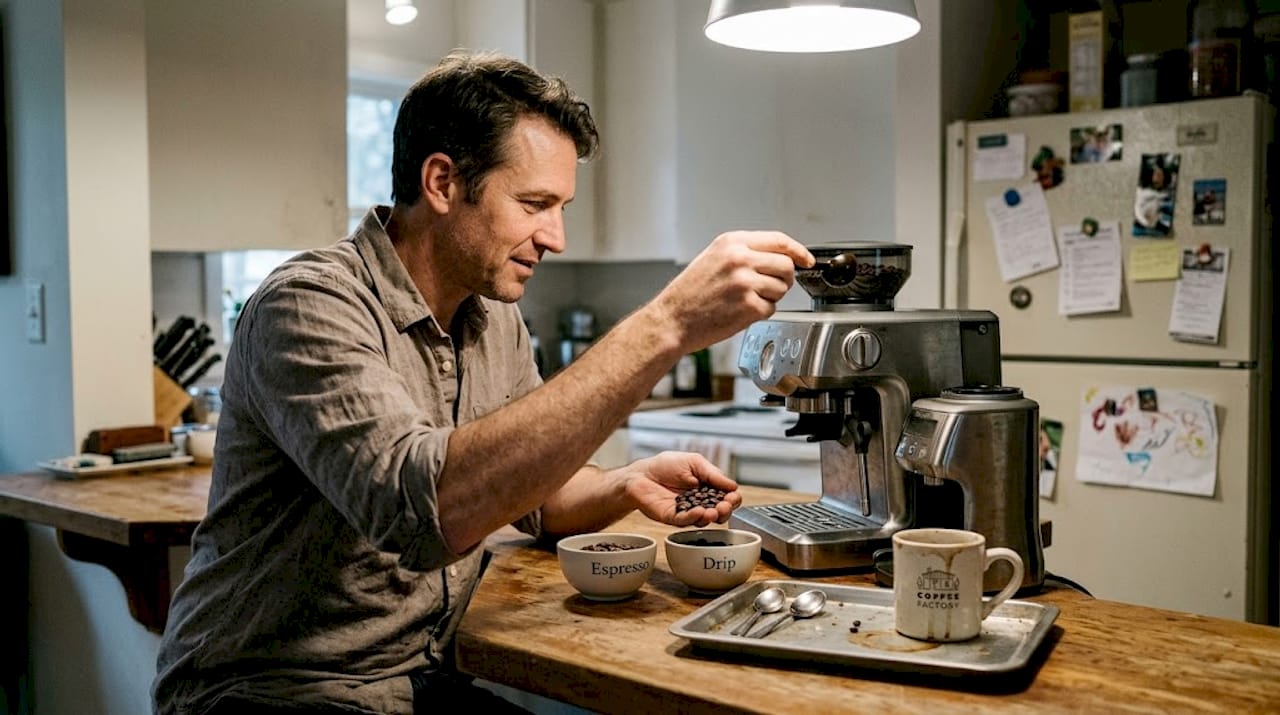
- Burr grinder — The single most impactful investment. Burr grinders deliver better coffee than blade models because they produce a consistent grind size, which directly affects extraction.
- Digital scales — Essential for repeatable results. Even 0.5g of variation in dose changes the cup.
- Tamper — Required for espresso; a flat, even tamp matters more than pressure.
- Milk jug and thermometer — If you enjoy flat whites or lattes at home.
- Freshly roasted beans — Stale beans are the most common cause of disappointing coffee, regardless of equipment.
One useful guide for narrowing down choices is this expert kit guide, which covers the practical trade-offs in detail.
When it comes to beans, matching the roast level to your machine type matters. Darker roasts tend to suit espresso machines, while lighter, single-origin coffees often shine best through filter. Reading up on coffee roast levels is a good starting point before buying in bulk.
For those browsing precision coffee grinders, a stepped or stepless burr grinder in the £80 to £200 range is a solid entry point for home use.
Pro Tip: Spend more on the grinder than the machine. A mid-range grinder paired with a modest espresso machine will consistently outperform an expensive machine paired with a cheap blade grinder. Learn more about choosing coffee beans to pair with your new setup.
Step-by-step: setting up and organising your coffee bar
Once you have selected your equipment, it is time to bring your coffee bar together, systematically and step by step.
- Position the machine first. It is the largest item and defines the layout. Leave clear space on both sides for workflow.
- Place the grinder to the left of the machine (or right, if you are left-handed). The order should follow your workflow: grind, dose, tamp, brew.
- Set scales directly in front of the machine for easy access during dosing and extraction timing.
- Group small tools together. Tamper, distribution tool, and cleaning brush belong in a small tray or holder close to the machine.
- Designate a bean station. An airtight canister or sealed bag sits apart from the heat of the machine.
- Organise cups on a shelf or warming tray above or beside the machine. Keeping them warm improves the final drink noticeably.
A workflow area of at least 12 to 18 inches keeps everything accessible without crowding. Once the core layout is fixed, small aesthetic touches make the station more enjoyable to use:
- A small plant or herb pot adds a calm visual element
- A printed recipe card or brew ratio chart on the wall saves guesswork
- Matching mugs or a curated selection on display adds a personal touch
- A narrow wooden tray to group syrups or extras keeps the surface tidy
For ongoing reference, the setup checklist covers the finer details of arrangement and organisation.
Maintenance, safety and coffee bar troubleshooting
A true home barista goes beyond setup. Ongoing care keeps quality consistent and mornings stress-free.
Routine maintenance is straightforward when broken into daily, weekly, and monthly tasks:
- Daily: Wipe down the machine exterior and steam wand, empty the drip tray, and rinse the portafilter after each use
- Weekly: Clean grinder burrs weekly, remove loose grounds from the grinder chamber, and wipe all surfaces thoroughly
- Monthly: Descale the machine according to the manufacturer’s schedule, and deep-clean any removable components
Safety matters too. Check cables regularly for wear, particularly near the machine where heat is present. Never leave water sitting in the boiler unused for extended periods, and keep the area around the machine clear of flammable materials.
Brew temperature and grinder consistency are crucial to coffee quality. The SCA recommends a brewing temperature between 195 and 205°F for optimal flavour extraction, and a uniform grind size across all particles.
Common issues and quick fixes:
- Weak or watery coffee: Check grind size (too coarse), dose weight (too low), or water temperature (too cool)
- Machine making excessive noise: Often caused by limescale build-up or a dry water reservoir
- Slow extraction or blockage: Grind may be too fine, or the portafilter basket needs cleaning
- Bitter taste: Over-extraction. Try a coarser grind or shorter brew time
For quick, practical reference during troubleshooting, the quick brew advice page covers common variables and their solutions.
Pro Tip: Always use filtered water in your machine. It reduces limescale build-up significantly, extends machine life, and removes chlorine that can affect the flavour of the final cup.
Why your coffee bar is more than just a brewing station
All the practical steps are valuable, but it is worth pausing to consider what a well-set-up coffee bar actually does to a daily routine. It is not just about better coffee, though that is real and noticeable. It is about having a small, deliberate space that belongs to one purpose.
The details matter in ways that are hard to anticipate before you have tried it. Good lighting makes the morning feel calmer. A logical workflow removes friction. A grinder dialled in to your preferred beans removes variability. These are small things individually, but together they shift the experience completely.
There is also a common misconception worth addressing: you do not need expensive kit to get great results. A £90 burr grinder and a straightforward espresso machine, paired with freshly roasted beans delivered regularly, will outperform a £600 machine paired with supermarket beans every time. Matching your tools to your actual habits, how many cups a day, what style you prefer, and how much time you have, is what makes a coffee bar genuinely rewarding.
Take your home coffee bar to the next level
Building the setup is only the beginning. The quality of what goes into the machine matters just as much as the machine itself.
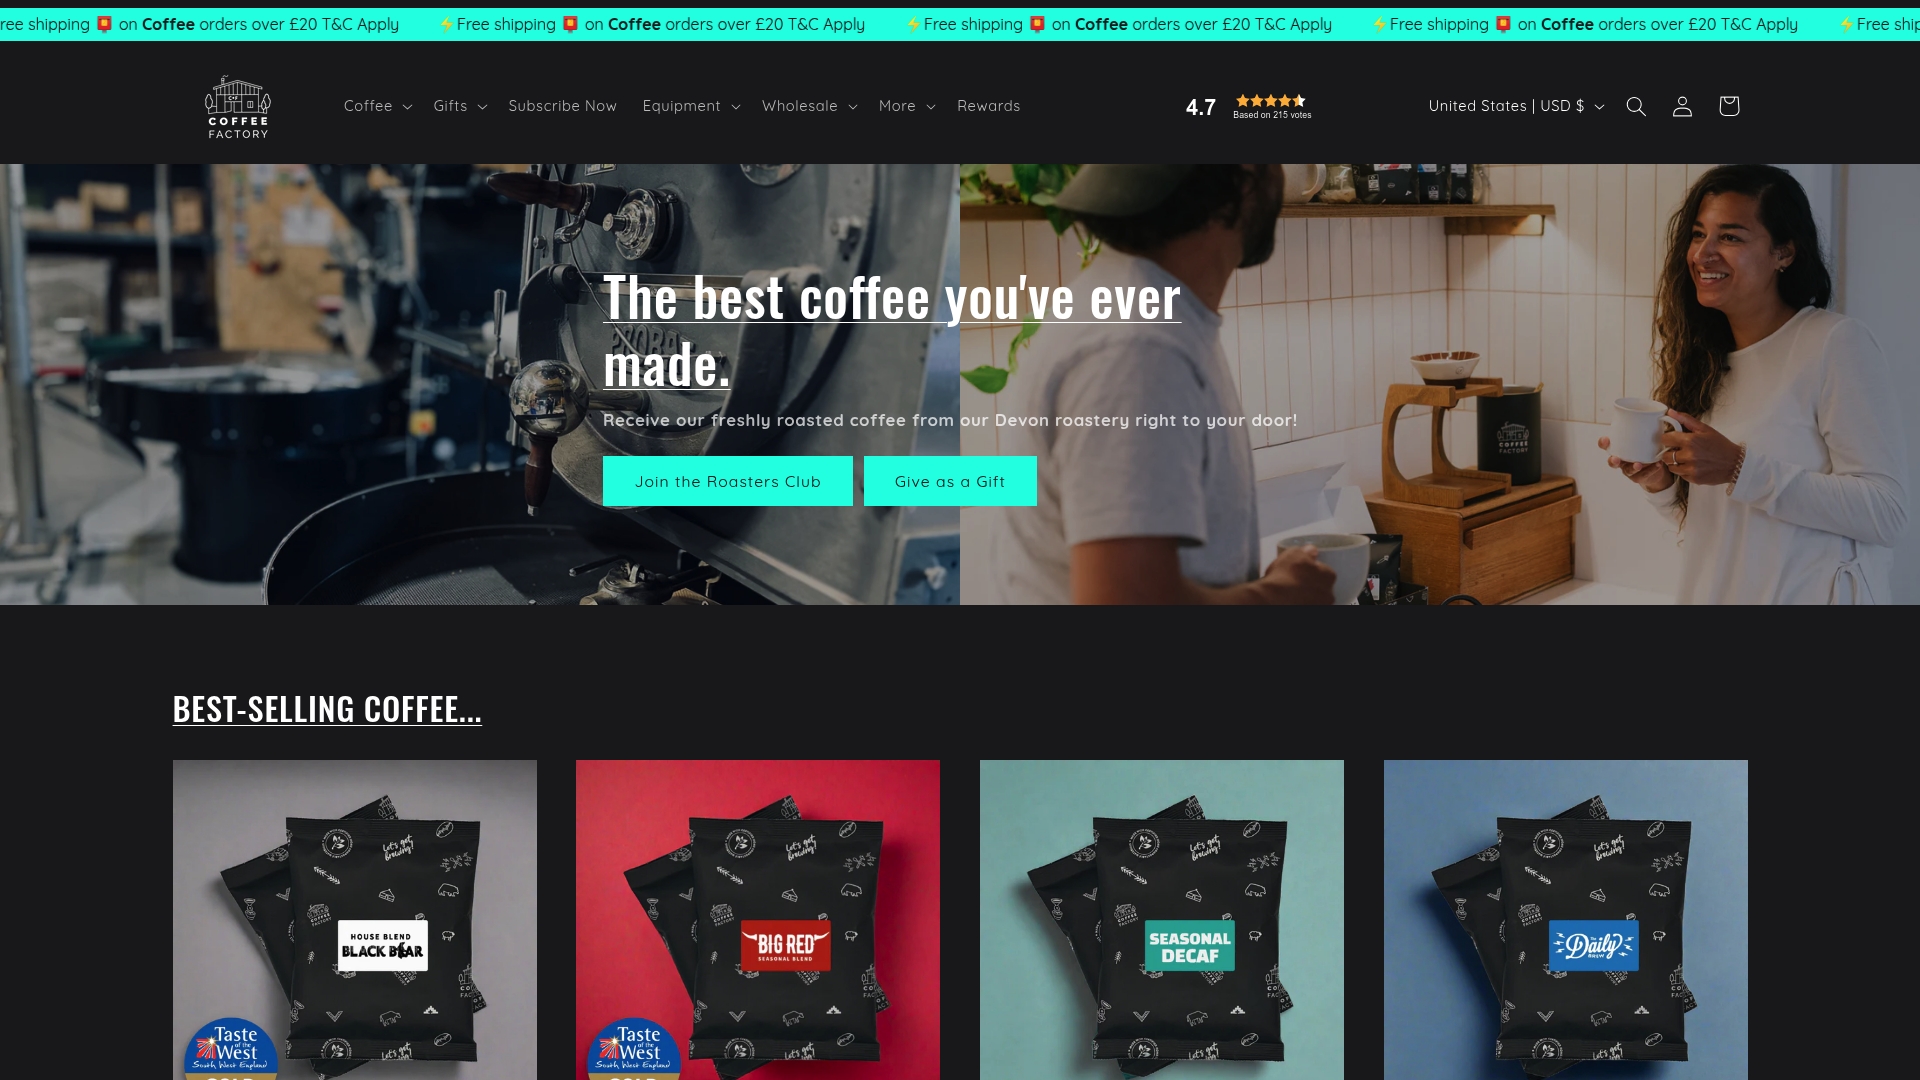
At The Coffee Factory, freshly roasted beans are dispatched directly from a Devon-based roastery to your door. Browsing the range of fresh ground coffee is a practical first step for anyone stocking a new coffee bar. For ongoing variety and value, coffee subscription options deliver rotating selections of seasonal and single-origin coffees on a regular schedule. And if you are still refining your technique, the coffee brewing guide covers methods, ratios, and variables in plain, usable detail. Free shipping on orders over £20 applies across the range.
Frequently asked questions
What is the minimum space needed for a home coffee bar?
Aim for at least 12 to 18 inches of clear counter space with access to power and water for an efficient, comfortable workflow.
Is a grinder really more important than a coffee machine?
Yes. Investing in a quality burr grinder over a blade model has a greater impact on flavour consistency than upgrading the machine itself.
How often should I clean my home coffee setup?
Wipe surfaces daily, clean grinder burrs weekly, and descale your machine on a regular monthly schedule for best performance.
What brewing temperature gives the best coffee?
The SCA recommends a brewing temperature between 195 and 205°F for reliable flavour extraction across most brew methods.
Can I set up a proper coffee bar in a small flat?
Absolutely. Trolleys, vertical shelving and compact equipment make it straightforward to build a functional station without needing a large kitchen.